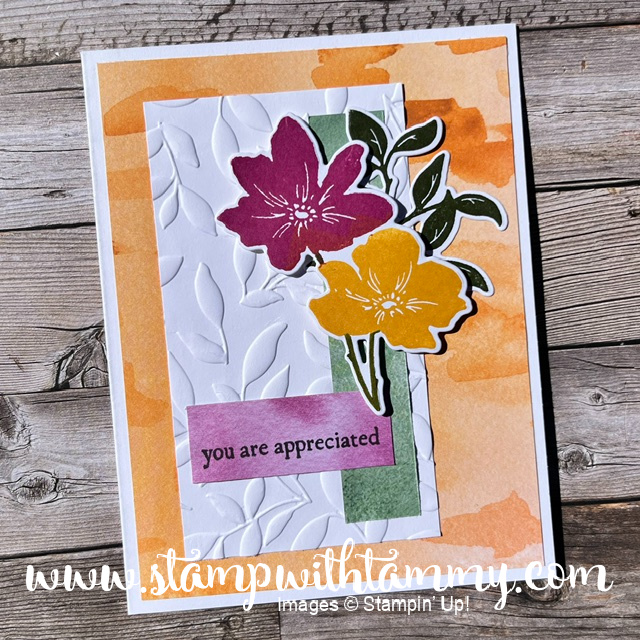
A bright and cheery card to start your week!
Measurements:
- Thick Basic White: 11” x 4-1/4” & 5-1/4” x 4”
- Pale Papaya: scrap large enough for largest arch
- Polished Pink: scrap large enough for second largest arch
- Highland Heather: scrap for second smallest arch, and 2” x 2” for circle
- Pool Party: scrap for smallest arch
Instructions:
- Score the long piece of Basic White cardstock at 5-1/2". Fold in half, and use your Bone Folder to create a sharp crease.
- Use your die cutting machine and the die with the four large arches to cut the arches into the bottom left corner of your 5-1/4" x 4" piece of cardstock. Be sure to leave a border around the two sides so that the rainbow doesn't go right to the edge.
- Add Stampin' Dimensionals to the back of the die cut cardstock. Cut thin pieces from the edges of the Mini Stampin’ Dimensional sheet and attach them to the thin curved pieces between the arches. Adhere this layer to the card front.
- Die cut each of the arches from the coloured cardstock. Use Stampin' Seal to glue these arches to the cardstock base. Refer to the photo for placement of each colour.
- Use Versamark ink to stamp the phrase onto the square of Highland Heather cardstock. Cover with white embossing powder, and shake off the excess. Heat using your Heat Tool until all of the powder has melted and is glossy.
- Die cut the phrase with the large circle on the Picture This circles die. Adhere to the card using Stampin' Dimensionals.
- Add 5 Polished Dots to the card front.
Supplies: