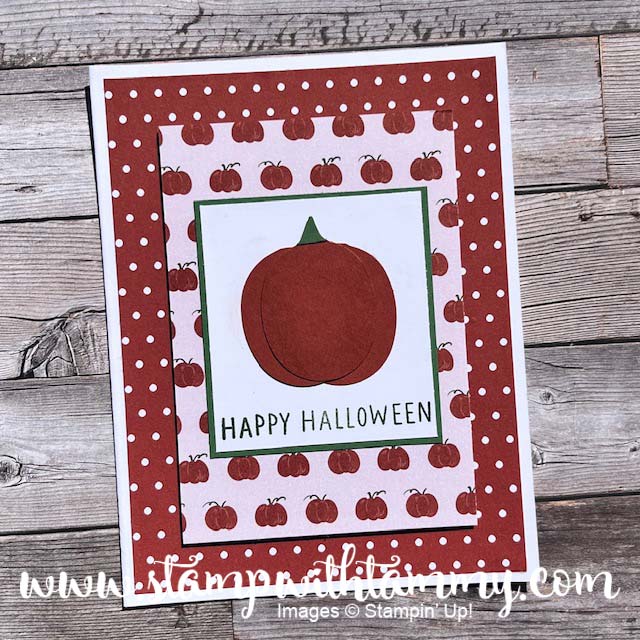
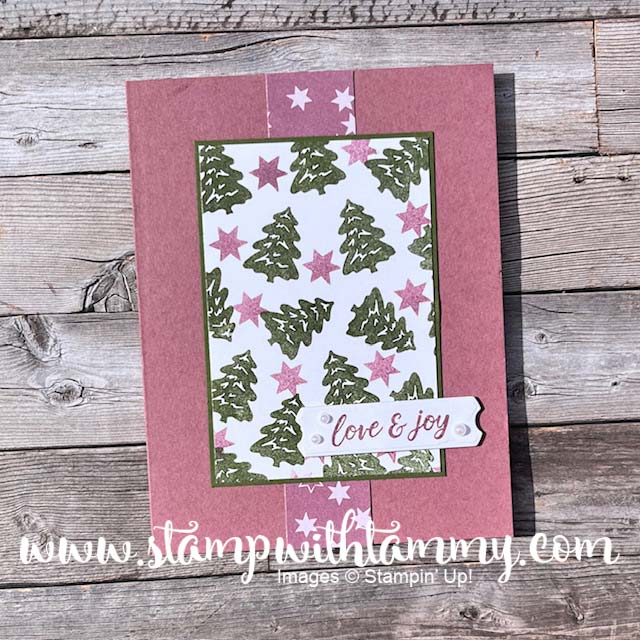
This suite is so pretty!! I love the fonts! Be sure you get it before Jan 3rd!! You can see it HERE!

Measurements:
- Basic White: 5 ½” x 8 ½”; 4 ¼” x 5 ¼”; 3 ½” x 4”; 3 ¼” x 4”
- Gray Granite: 2 @ 2” x 3 ½”
- Ribbon: 6 ½”
Instructions :
- Emboss the 4” x 5 ¼” piece of Basic White with the Merry Melody 3D Embossing Folder. Note: This embossing folder is directional, be sure to emboss it landscape instead of portrait.
- Wrap the Gray Granite ribbon around the embossed piece and adhere.
- Adhere the embossed piece to the front of the folded card base.
- Die cut the larger oval frame from the 3 ½” x 4” piece of Basic White. Keep the oval from inside the frame for this project and save the frame for another project.
- Adhere the large oval to the front of the card with Dimensionals.
- Die cut two of the branch with the leaves from the two Gray Granite pieces of cardstock.
- Lay the branches on the large oval and adhere with Dimensionals on the stems.
- Stamp “May this season” in Gray Granite ink on to the 3” x 3 ¾” piece of Basic White. Die cut with the smaller oval frame die from the Framed Florets dies. Keep the oval with the words for this project and save the frame for another project.
- Add one Dimensional on the back, upper portion, of the small oval. Remove the backing pieces from the Dimensionals on the branches and remove the backing piece from the Dimensional on the oval. Adhere the small oval over the large oval and branches.
- Adhere a medium pearl above the words. Adhere a small pearl on each side of the medium pearl.
- Adhere a medium pearl below the words. Adhere a small pearl on each side of the medium pearl.
SUPPLIES:


