Hello everyone!! I have some fun cards for you today!! Enjoy!
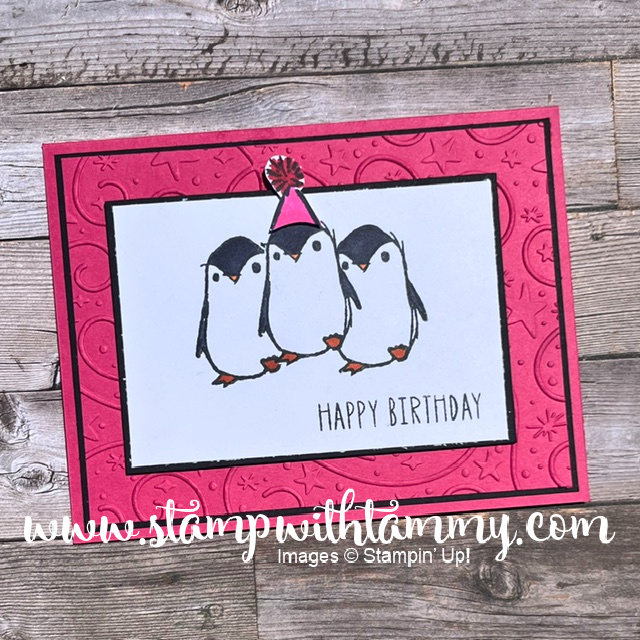
For our June Nacho Average Team Meeting, I demonstrated masking! I started with this card, and “basic” masking! To do this, stamp the image you want “in front”. Stamp onto masking paper as well, and cut out. Place the masking paper over the image, then stamp another penguin on each side. Pull off the masking paper (carefully), and you get this:
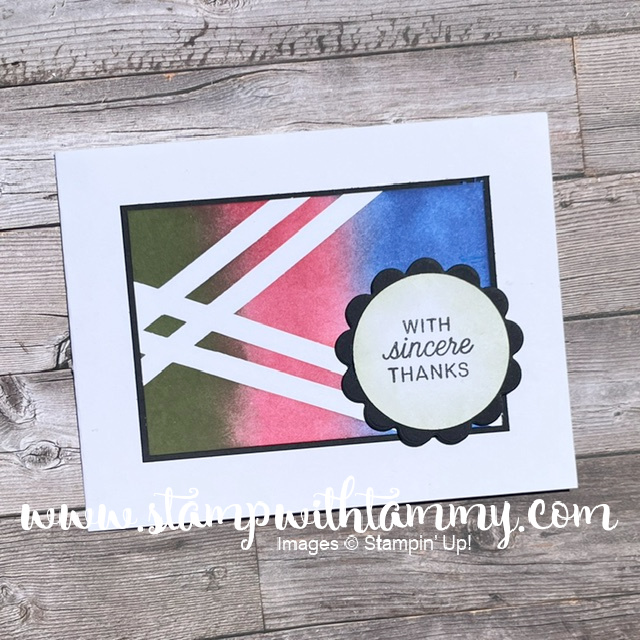
For this next card, cut 1/4″ strips of masking paper, and add to you card in whatever pattern you like. You can even overlap them! Then, add ink using blending brushes. Remove the strips of masking paper (carefully!!), and you get this fun pattern:
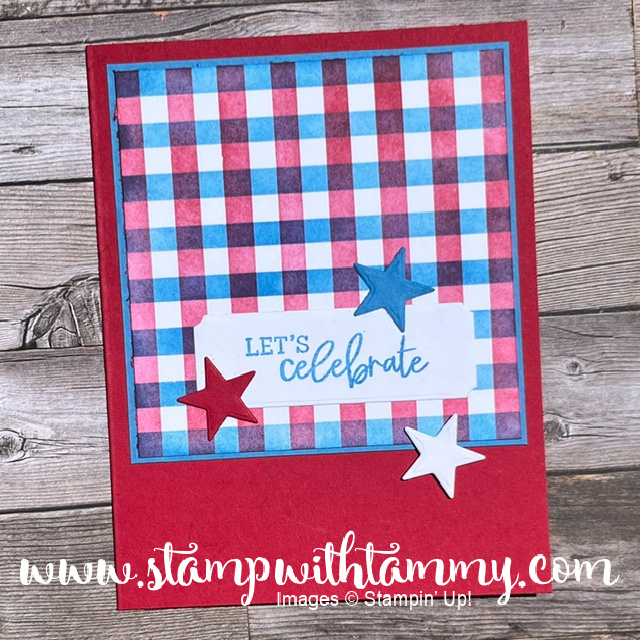
This third card was fun to make, but not sure I’d make a bunch of them!! haha!! First, I laid 1/4″ strips of masking paper horizontally across my Basic White square. I used my grid paper to make sure they were straight and evenly spaced. Add Real Red ink with a blending brush. Pull up the strips (carefully!). Now, do the same thing in the other direction. Add Azure Afternoon ink with a blending brush. Remove those strips (carefully!), and you’re left with this really cool plaid effect!
Would you like to come to our next Nacho Meeting? If you’re interested, please leave me a comment! I’d love to have you on our team! We’re doing a demonstration of the new Hot Foiling System! The meeting is Saturday, July 18 at 10am!
You can see all details regarding becoming a Stampin’ Up! demonstrator HERE!
Have a lovely day!