Measurements:
- Basic Black: 1 ½” x 3 ½”
- Adhesive Sheet: 1 ½” x 3 ½”
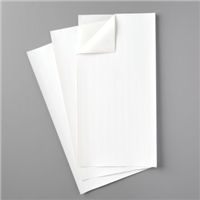
- Basic White: 3 ¼” x 3 ¼”, 1 ½” x 3 ½”, 4” x 5”
Instructions:
- Fold the card base in half and use bone folder to flatten the fold.
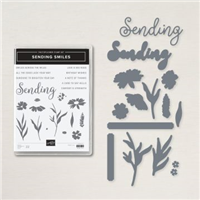
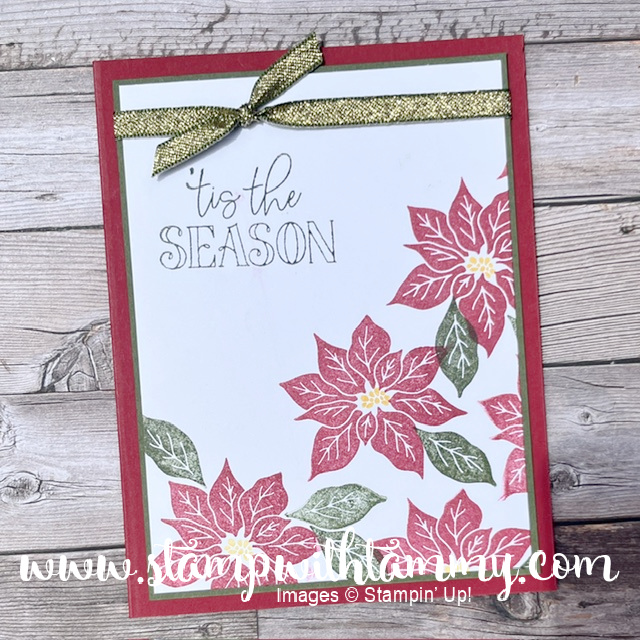
- Apply adhesive sheet to Basic Black card stock. Create “Sending” die cut – be sure to put the die on the black side, rather than the side with the adhesive sheet. Create the Basic White layer to lay behind the word. Carefully peel the adhesive sheet off the die cut word and adhere to the white layer.
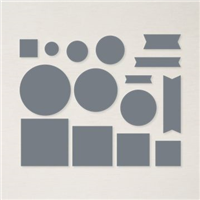
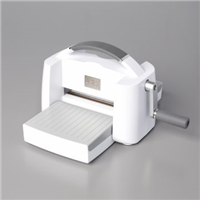
- Die cut a stitched circle from the 3 ¼” square piece of Basic White with the second largest circle from the Stylish Shapes Dies and adhere to card front with multipurpose liquid glue.
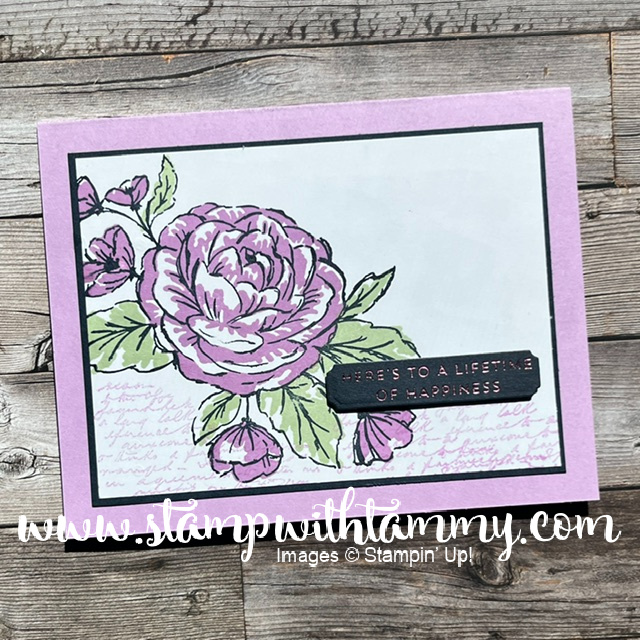
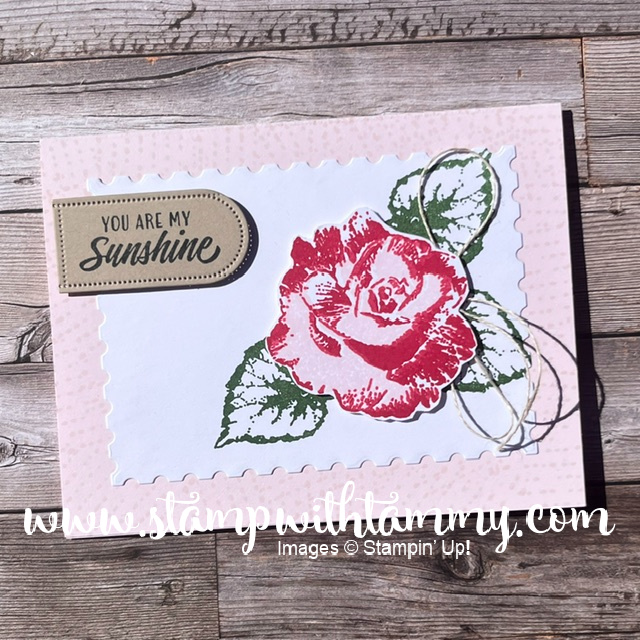
- All remaining images will be stamped on the 4” x 5” piece of Basi White. Stamp flowers in Sweet Sorbet with Mango Melody centers. Stamp the stem piece with Granny Apple Green and the sentiment of your choice from the Sending Smiles Stamp Set with Basic Black.
- Die cut all pieces with the Sending dies.
- Adhere stem to card front with multipurpose liquid glue. Adhere remaining pieces with dimensionals.
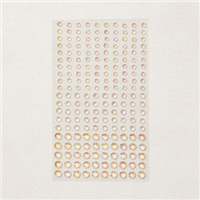
- Add 3 Iridescent Rhinestones to card front as desired.
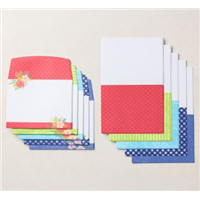
- Pair card with matching envelope from the Tea Boutique Cards & Envelopes.
Supplies: