Measurements:
- Delightful Dijon card base: 8 ½” x 5 1/2”, scored & folded at 4 ¼”
- Very Vanilla layer: 4” x 5 ¼” – need two
- Very Vanilla greeting strip: 1 ¼” x 4”
- Early Espresso ½”
- Seam Binding: about 20”
- Designer Series Paper (also known as DSP) to line envelope: 3” x 6”
NOTE: When stamping with photopolymer (clear) stamps, ALWAYS put the Stampin’ Pierce Mat under your grid sheet or under the card stock before you stamp. The Stampin’ Pierce Mat provides the extra “give” a photopolymer stamp needs to get a clearly stamped image.
Instructions:
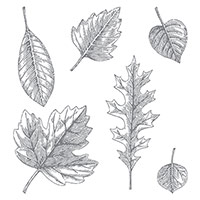
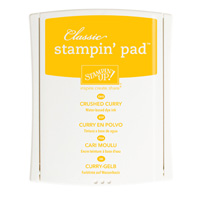
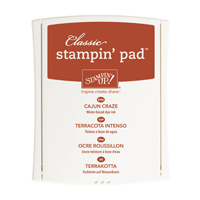
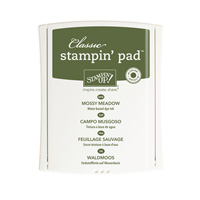
- Cut a piece of tissue paper about 5” x 6”. Stamp the matte side (some tissue paper has a shiny and a matte side) with Vintage Leaves using Crushed Curry, Cajun Craze, and Mossy Meadow ink. Crumple tissue into a ball with your hand. Un-crumple and smooth slightly. Do not completely smooth out tissue.
- Coat vanilla layer evenly with glue stick. Lay stamped tissue lightly onto glued surface. Gently pat and smooth tissue over layer, leaving rumples as you go.
- Fold ends of tissue around to back side of vanilla layer. Adhere with glue stick or SNAIL.
- Sponge edges of tissue with Early Espresso ink.
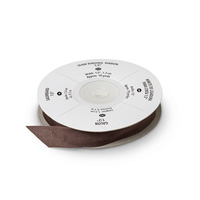
- Wrap Early Espresso ribbon around layer. Tie in a knot or a bow. Trim ends with Craft Scissors.
- Stamp vanilla greeting strip with “thankful” from Six Sayings Host set using Early Espresso ink.
- Sponge acorn Into the Woods Element with Early Espresso ink.
- Press leaf Into the Woods Element into Cajun Craze ink pad. Use the inked leaf to “stamp” around “thankful”, re-inking as necessary. Repeat with another leaf inked with Crushed Curry.
- Sponge edges of greeting strip with Early Espresso ink. Adhere to card front with dimensionals.
- Stamp-off rest of ink from Into the Woods leaves on your grid sheet or scratch paper. Adhere to left top corner of greeting strip with glue dots.
- Stamp inside layer with same leaves & ink as front layer. Sponge edges with Early Espresso ink. Adhere inside card with SNAIL. Sponge edges of card base inside & out with Early Espresso ink.
- Cut 3” x 6” of DSP with largest Envelope Liner Thinlet. Adhere inside envelope just below the glue line using a line of SNAIL ONLY along the top edge of the liner. Fold envelope flap down to crease the liner and push it farther down into the envelope. Stamp and sponge the envelope to match your card and you are done!
Product List

