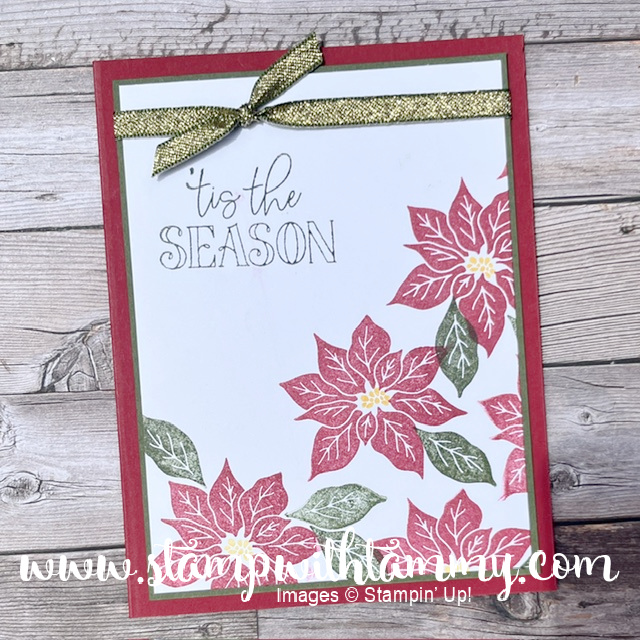
Measurements:
- Basic White (base): 8 ½” x 5 ½” (score at 4 ¼”)
- Basic White (for stamping and die cutting): 3 ½” x 2 ½”
- Fresh Freesia (for layering): 5 ¼” x 4”
- Designer Series Paper (3 strips): 3 ¾” x 1 ½”
- Ribbon: 5”
- Ribbon: 9”
Instructions:
- Fold the Basic White cardstock in half on the scored line.
- Run the small piece of Basic White cardstock thru the Stampin’ Cut and Emboss machine with the Stitched So Sweetly Dies (use the 3rd die in from the smallest).
- Stamp the saying with Fresh Freesia ink.
- Attach the three pieces of Designer Series Paper to the Fresh Freesia mat with your Seal Adhesive. TIP: Place the outer two pieces first so there is an equal border on the top and the sides. Attach the final piece so it lines up with the right piece. There will be more of a gap between the first and second piece. This is where the ribbon will go.
- Attach the smaller piece of ribbon around the Fresh Freesia mat and secure at the back of the card with Seal adhesive.
- Attach the Fresh Freesia mat to the card front.
- Attach the saying with dimensionals to the middle of the card.
- Tie a bow with the other piece of ribbon. Add the bow to the front of the card with a glue dot.
- Add 3 jewels to the front of the card.