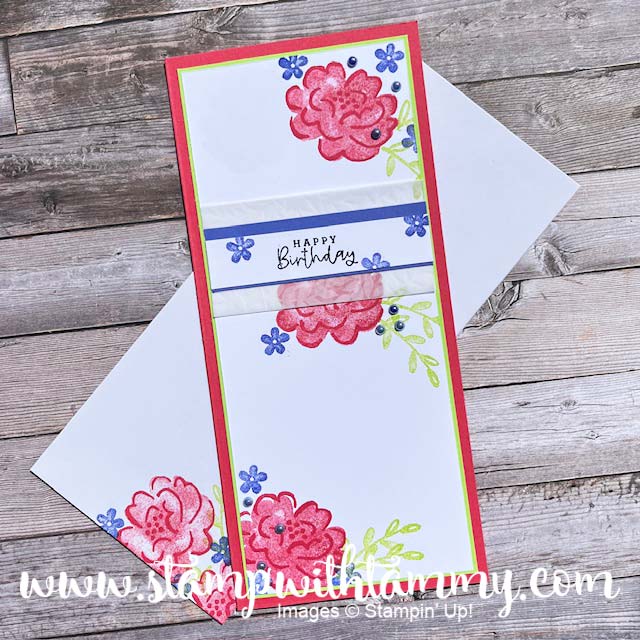
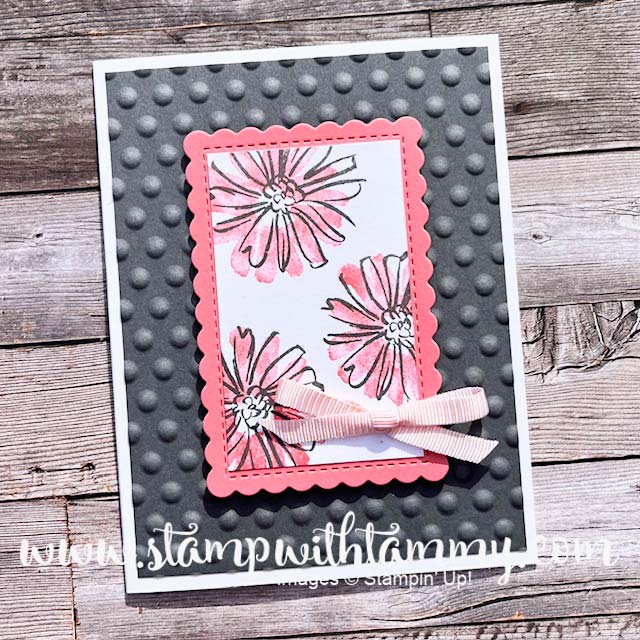
An easy way!!! I have struggled with doing a “reflection” card for several years. I’ve tried several different techniques, but could never quite get it to look right! Well, I saw a reel on Instagram, and had to try it!!
To do this, first stamp the images that are “right side up”. You’ll want to do this at least half way up the card front so you have room for the reflection! Oh–and it’s very important to use watercolor paper.
Now, lay a silicone craft sheet over the stamped panel. Now stamp directly onto the silicone–right over the other stamped images. (you place it over the panel so that you’re sure you get the placement right!) Now spritz the silicone with water in our Stampin’ Spritz bottles. You want enough to wet the ink, but not so much that it “runs”.
Now, flip it over and “stamp” right below the original stamped images. If it doesn’t look just right, play around with it using the Water Painters. My trees came out a bit to detailed, so I went over them with the water painter so they looked more like a reflection! You’ll also have to color in the water–I used the water painters and Pool Party Ink.

I hope you’ll give this technique a try!! It was fun!


